
Printing Overview#
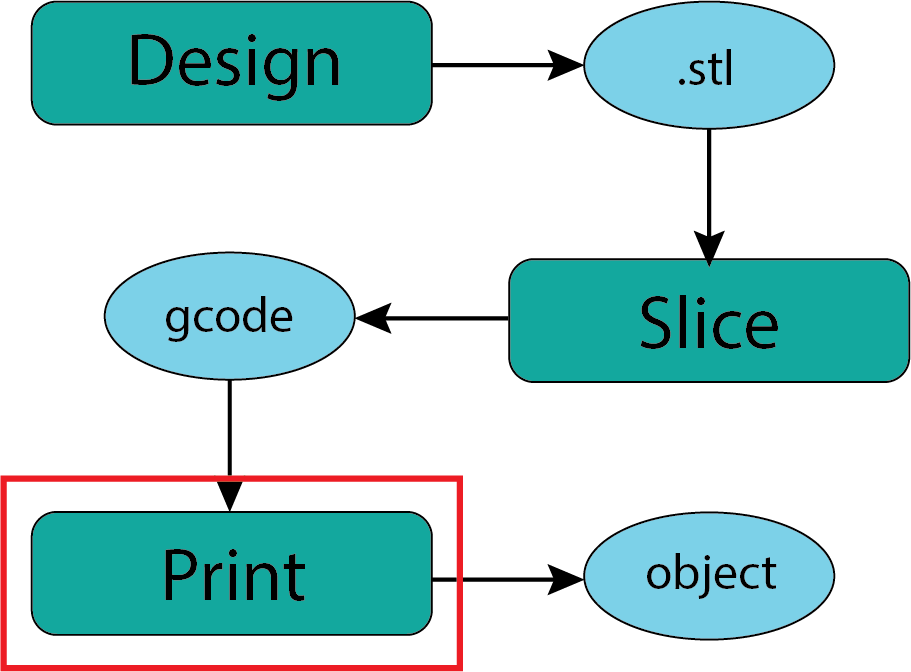
Fig. 34 Downloading .stl Files#
In some ways the 3D printing process is superficially the simplest of the steps in the process of creating an object. Much like creating a document the effort is mostly in getting the file prepared for the printer.
It is likely that the most common setup task for making a 3D print in the makerspace will be changing the filament to whatever color you would prefer. Because this will take place in the makerspace with the support and guidance of makerspace staff you should not be concerned about this.
Printing Process Basics:#
The overall process will look something like this.
Reserve the use of the printer on the DPL Makespace page.
Find a makerspace staff member to access the 3D printer
Go through our verification process (not implemented yet) to assure appropriate file types and gcode.
In the beginning we may ask that you also bring in your Prusa Slicer file (.3mf) so we can open it up and check settings.
Load desired filament.
Load gcode file generated by Prusa Slicer or other slicer software
Start the print run verifying that it should complete before the makerspace closes.
Stay in the makerspace to monitor your print in the event that anything goes amiss.
When the print is complete remove the print from the bed.
Leave the printer clean and prepared for the next user.
Final Thought:#
Seems pretty straight forward yes? In the beginning the makerspace staff and you will no doubt be very attentive to the process as we learn what might go wrong and modify our process guidance. We will make adjustments to these processes as we learn more.